Example Outputs
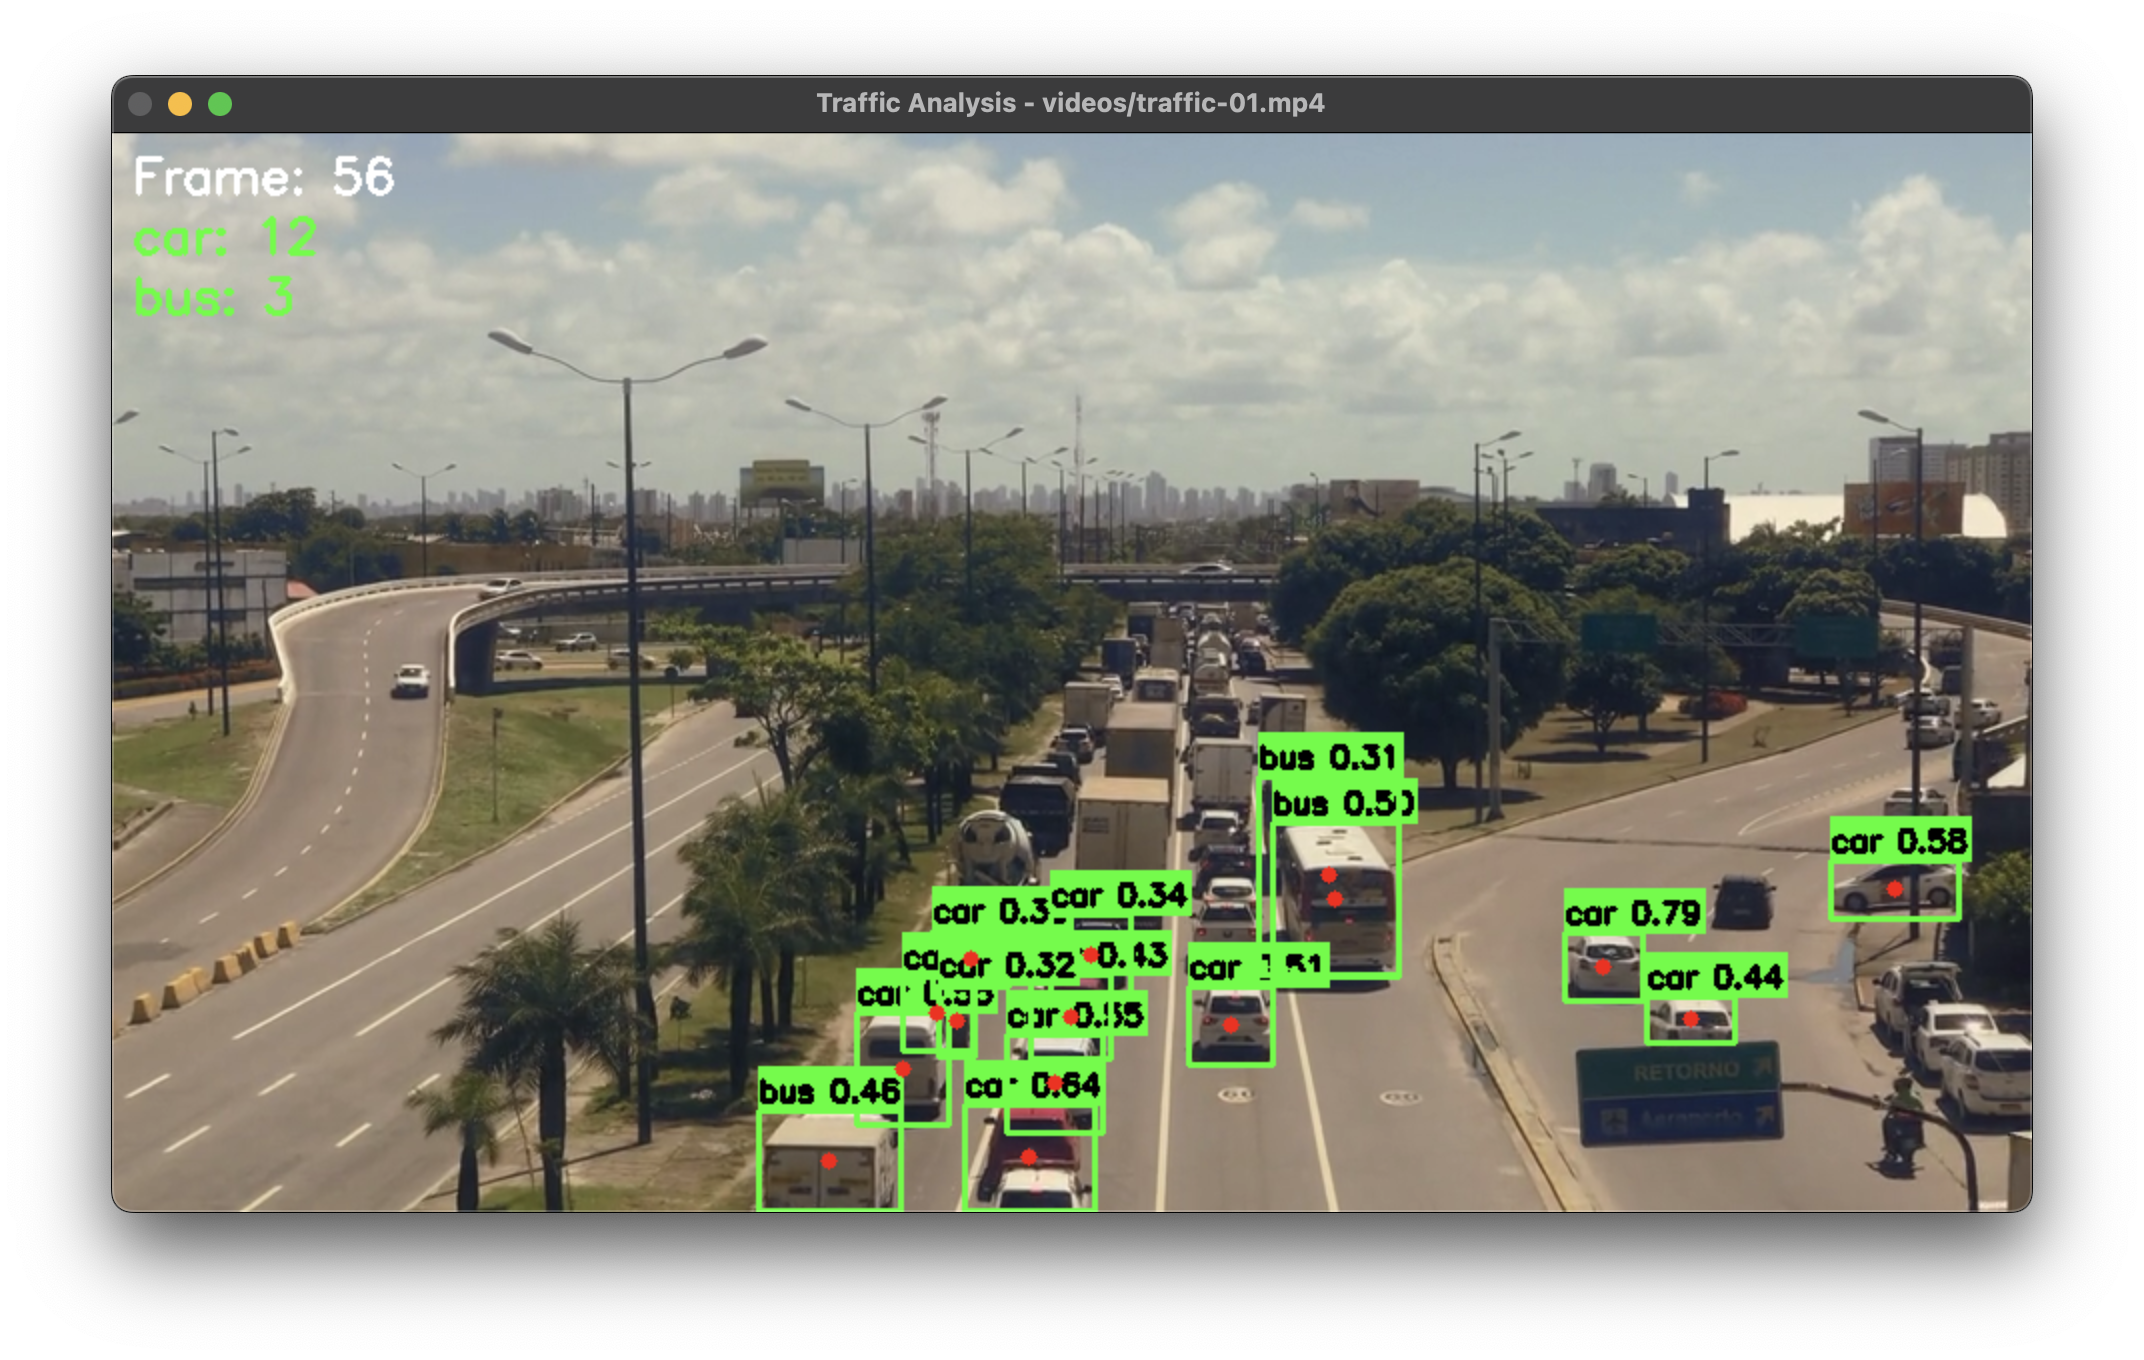
Basic Object Detection
Detection results showing bounding boxes, class labels, and confidence scores for common objects in a street scene.
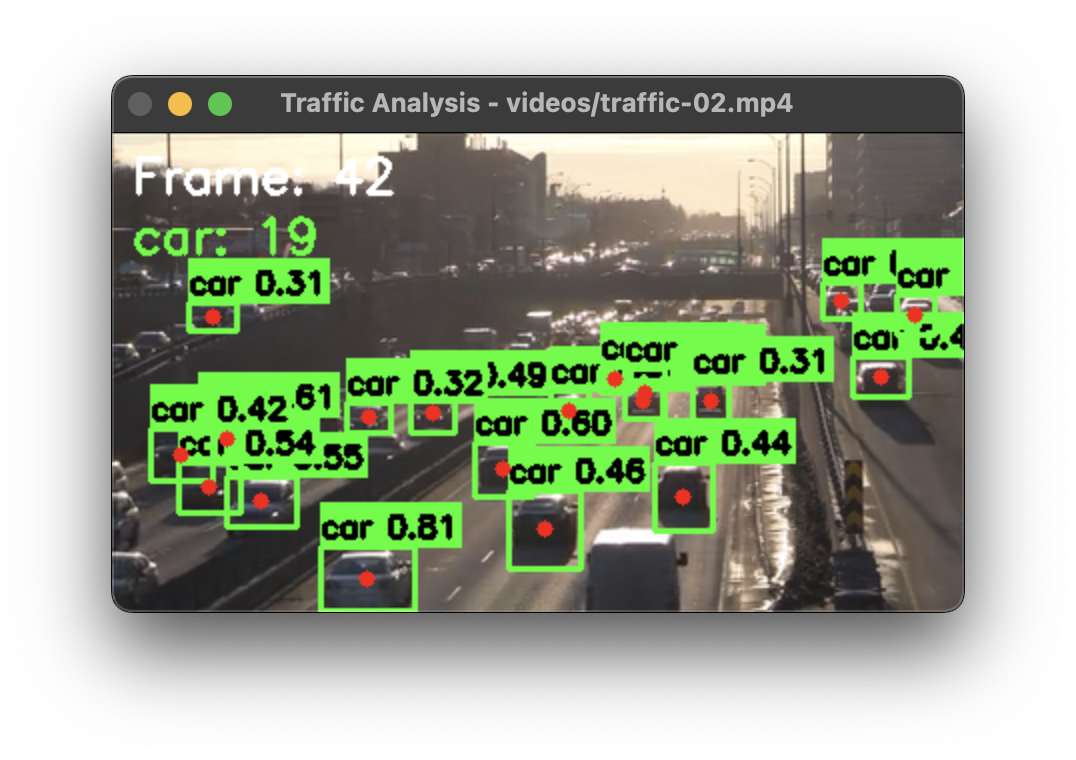
Advanced Detection
Filtered detection results focusing on specific classes with custom visualization settings and object tracking.
Basic Object Detection
from yolozone import ObjectDetector
import cv2

# Initialize detector with default model
detector = ObjectDetector()

# Read image
img = cv2.imread("image.jpg")

# Detect objects with custom confidence threshold
results = detector.detect_objects(
    img,
    device="cpu",  # Use CPU for inference
    conf=0.35      # Set confidence threshold
)

# Draw detections with custom color
img, detections = detector.draw_detections(
    img,
    results,
    color=(0, 255, 0),  # Green color
    thickness=2         # Line thickness
)

# Print detected objects
for class_name, conf, box in detections:
    x1, y1, x2, y2 = box
    print(f"Found {class_name} at ({x1},{y1},{x2},{y2}) with confidence {conf:.2f}")

# Save output image
cv2.imwrite("output.jpg", img)
Key Features
- Configurable confidence threshold for filtering detections
- Device selection (CPU/CUDA/MPS) for optimal performance
- Customizable visualization options
- Detailed detection information including coordinates
Real-time Video Detection
import cv2
from yolozone import ObjectDetector

# Initialize detector
detector = ObjectDetector(model="yolov8s.pt")

# Open video capture
cap = cv2.VideoCapture(0)  # Use 0 for webcam

while True:
    ret, frame = cap.read()
    if not ret:
        break

    # Detect objects with tracking enabled
    results = detector.detect_objects(
        frame,
        device="cpu",
        conf=0.35,
        track=True  # Enable tracking
    )

    # Draw detections
    frame, detections = detector.draw_detections(frame, results)

    # Count objects by class
    counts = detector.count_objects(results)

    # Display counts
    y_pos = 30
    for cls, count in counts.items():
        text = f"{cls}: {count}"
        cv2.putText(frame, text, (10, y_pos),
                   cv2.FONT_HERSHEY_SIMPLEX, 0.6,
                   (0, 255, 0), 2)
        y_pos += 25

    # Show frame
    cv2.imshow("Object Detection", frame)

    if cv2.waitKey(1) & 0xFF == ord('q'):
        break

cap.release()
cv2.destroyAllWindows()
Features Demonstrated
- Real-time video processing
- Object tracking integration
- Live object counting
- On-screen statistics display
Advanced Detection Features
# Initialize with a specific model
detector = ObjectDetector(model="yolov8l.pt")  # Larger model for better accuracy

# Define classes of interest
target_classes = ['person', 'car', 'truck', 'bicycle']

# Process image
results = detector.detect_objects(
    img,
    device="cuda",  # Use GPU if available
    conf=0.4        # Higher confidence threshold
)

# Get filtered detections
img, detections = detector.draw_detections(
    img,
    results,
    classes=target_classes,  # Only show specified classes
    color=(255, 0, 0),      # Red color for boxes
    thickness=2
)

# Get object counts
counts = detector.count_objects(results, classes=target_classes)
print("\nObject Counts:")
for cls, count in counts.items():
    print(f"{cls}: {count}")

# Get object centers for analysis
centers = detector.get_object_centers(results)
print("\nObject Centers:")
for cls, points in centers.items():
    print(f"{cls}: {len(points)} objects found")
    for x, y in points:
        print(f"  - Center at ({x}, {y})")
Advanced Features
- Class filtering for targeted detection
- Object center point calculation
- Custom model selection
- GPU acceleration support
Performance Tips
- Use appropriate model size for your needs (n/s/m/l/x)
- Adjust confidence threshold based on use case
- Enable GPU acceleration for faster processing
- Filter classes to reduce processing overhead
Filtered Detection
# Only detect specific classes
vehicle_classes = ['car', 'truck', 'bus', 'motorcycle']

# Detect objects
results = detector.detect_objects(img, conf=0.3)

# Draw only vehicles
img, detections = detector.draw_detections(
    img, results, classes=vehicle_classes)

# Count vehicles
counts = detector.count_objects(results, classes=vehicle_classes)

print("Vehicle counts:", counts)
Tips
- Filter classes to improve performance
- Adjust confidence threshold based on needs
- Use appropriate model size for your application
- Process at suitable resolution for speed/accuracy balance
Performance Optimization
- Use smaller models (yolov8n.pt) for faster inference
- Process at reduced resolution for real-time applications
- Filter relevant classes to reduce processing
- Use appropriate device (CPU/GPU) based on hardware
- Batch process images when possible